Power Inlet Drill Guide
- 19 views
This model is hosted on Cults3D. Files, images and license details belong to the original creator.
View on Cults3D ↗Description
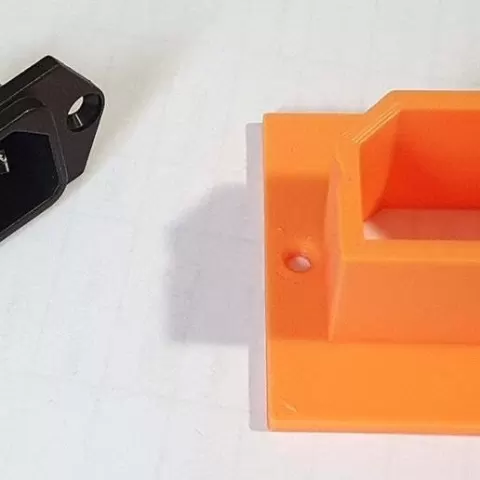
This is just a guide to help cut out a hole for a power inlet connector. The base is a 2" square. Decide where you want the hole located, mark and drill the two mounting holes. Once the guide is attached to the cabinet, use a 3/16" drill bit held in the corners to drill holes around the edges of the guide. Drill as many holes around the inside of the guide as you can. Unscrew the guide and set aside. I haven't found any other decent way to remove the remaining wood besides a Roto-Zip. A chisel might work too. Carefully play "connect-the-dots" with to complete the cutout. Attach the wires to Line/Neutral/Ground and screw the connector to the cabinet, or vice versa. I have only used this once, but it has held up very well. If there was a way to use this with a Roto-Zip fully, that would be great. At the very least, this can be used to get an exact mark on a cabinet.
About this model
Power Inlet Drill Guide is a free 3D model in the Other category, shared by the Cults3D community. You can download it for 3D printing and reuse it in your own projects under the terms of its original license.
File formats
- STL — The most common mesh format for 3D printing — ready to slice and print on almost any printer.
The files for this model are hosted on Cults3D. Use the button above to open the original page and download it.