
Happy Easter - Lets Print 3D
- 9 görüntülenme
Bu model Creality Cloud üzerinde barındırılıyor. Dosyalar, görseller ve lisans bilgileri tasarımcısına aittir.
Creality Cloud üzerinde görüntüle ↗Açıklama
Printer Setting Instructions Set Up the SlicerSlicing Software: Use software like Cura, PrusaSlicer, or Simplify3D.Layer Height: Lower values (e.g., 0.1 mm) for fine details; higher values (e.g., 0.3 mm) for faster prints.Infill Density: Adjust based on strength requirements (10-20% for most projects, higher for strength). Prepare the PrinterLevel the Bed: Ensure the print bed is level for proper adhesion.Clean the Bed: Use isopropyl alcohol to remove dust or grease.Check Filament: Ensure the filament is properly loaded and free from tangles. Monitor the PrintFirst Layer: Watch the first layer to ensure proper adhesion and no warping.Temperature: Maintain the correct nozzle and bed temperature for the material.Watch for Issues: Pause if you notice under-extrusion, stringing, or layer shifting. Post-ProcessingSanding: Sand the print for a smoother finish.Painting: Apply primer before painting for better adhesion.Resin Prints: Wash with isopropyl alcohol and cure under UV light.K1 Printer, approx. 25 min print time FOR BOTH PRINT , 0.2mm layer height, 10% infill, PLA material., print in place.
Bu model hakkında
Happy Easter - Lets Print 3D, Creality Cloud topluluğunda paylaşılan ücretsiz bir Diğer 3D modelidir. 3D baskı için indirebilir ve orijinal lisans koşulları çerçevesinde kendi projelerinde kullanabilirsin.
Dosya formatları
- STL — 3D baskı için en yaygın mesh formatı — neredeyse her yazıcıda dilimlenip basılmaya hazır.
Bu modelin dosyaları Creality Cloud üzerinde barındırılır. Orijinal sayfayı açıp indirmek için yukarıdaki düğmeyi kullan.
Benzer modeller
 Ücretsiz
Ultra-Detailed World Cup Trophy Replica
 Ücretsiz
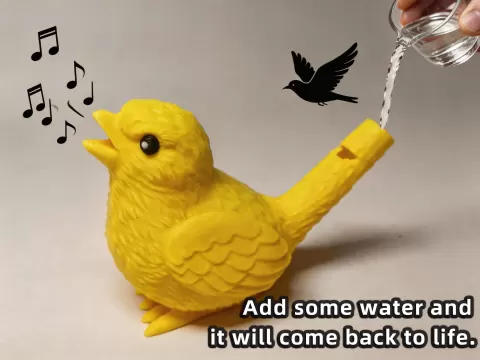
小鸟口哨 | 加点水,吹出真鸟叫声小哨子!
 Ücretsiz
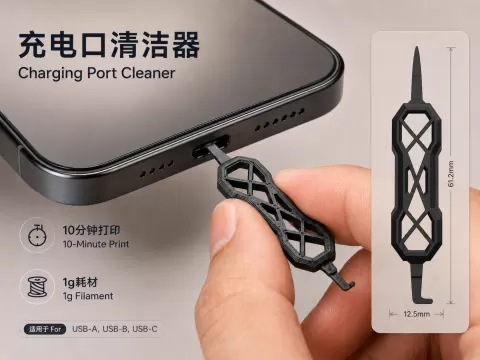
充电口清洁器(10分钟,1g耗材)
 Ücretsiz
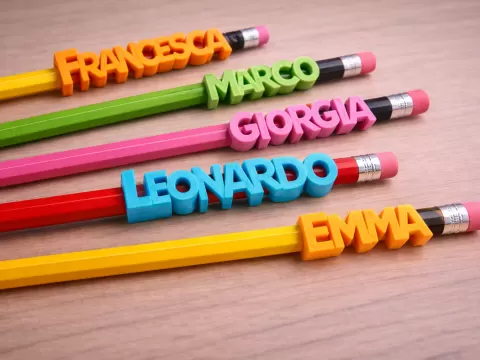
Nome infilabile matita parametrico personalizzable
 Ücretsiz
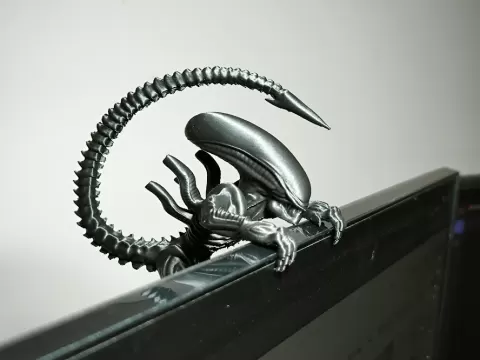
Monitor Alien
 Ücretsiz
Coolclip - Kühlakkuhalter
 Ücretsiz
Beer Bottle Opener
 Ücretsiz