
Sequential shifter
- 17 görüntülenme
Bu model Cults3D üzerinde barındırılıyor. Dosyalar, görseller ve lisans bilgileri tasarımcısına aittir.
Cults3D üzerinde görüntüle ↗Açıklama
Good afternoon! It was interesting to make a sequential shifter that could be quickly connected and disconnected. This is especially important when using a desktop rig for racing. It was also important to make it easy to assemble, inexpensive to produce, durable, and of course, good-looking. For assembly, you will need: Bolts: M5 x 50mm – 6 pcs. (4 pcs. for fastening the main body; 2 pcs. for assembling the dovetail joint) M5 x 40mm – 1 pc. (for the clamping screw) Screws: M2 x 10mm – 4 pcs. (for attaching the panels to the main frame) M3 x 16mm – 2 pcs. (for fastening the two halves of the main frame, between which the limit switches are placed) M3 x 8mm – 6 pcs. (for additional securing of the frame to the side panels, around the lower bearing) Nuts: M5 – 7 pcs. M8 – 3 pcs. For the main lever: In my case, I used a solid aluminum rod, 8mm in diameter and 90mm long, with M8 threads cut on both ends (thread length: 35mm on one side, 17mm on the other). Bearings: 608RS – 4 pcs. Spring: In my case, I used a spring with a diameter of 12mm, height of 14mm, and wire diameter of 1mm. But feel free to use another one (the main thing is that it fits over the threaded rod). Contacts: Made from brass sheet 0.2mm thick. Side panels: For aesthetic purposes, in my case, they were cut on a CO2 laser from 3mm acrylic glass (plexiglass). You may need to re-drill some holes.
Bu model hakkında
Sequential shifter, Cults3D topluluğunda paylaşılan ücretsiz bir Diğer 3D modelidir. 3D baskı için indirebilir ve orijinal lisans koşulları çerçevesinde kendi projelerinde kullanabilirsin.
Dosya formatları
- STL — 3D baskı için en yaygın mesh formatı — neredeyse her yazıcıda dilimlenip basılmaya hazır.
Bu modelin dosyaları Cults3D üzerinde barındırılır. Orijinal sayfayı açıp indirmek için yukarıdaki düğmeyi kullan.
Benzer modeller
 Ücretsiz
Ultra-Detailed World Cup Trophy Replica
 Ücretsiz
小鸟口哨 | 加点水,吹出真鸟叫声小哨子!
 Ücretsiz
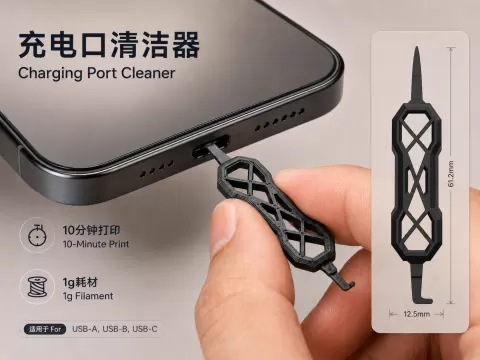
充电口清洁器(10分钟,1g耗材)
 Ücretsiz
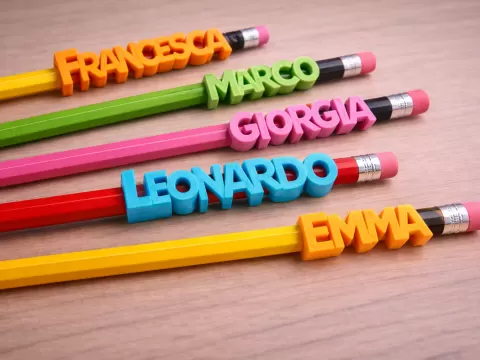
Nome infilabile matita parametrico personalizzable
 Ücretsiz
Monitor Alien
 Ücretsiz
Coolclip - Kühlakkuhalter
 Ücretsiz
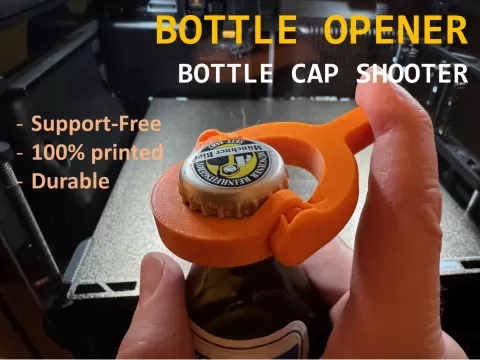
Beer Bottle Opener
 Ücretsiz