Ender 3 V3 KE Filament Sensor Relocation DEFINITIVE EDITION
- 15 görüntülenme
Bu model Creality Cloud üzerinde barındırılıyor. Dosyalar, görseller ve lisans bilgileri tasarımcısına aittir.
Creality Cloud üzerinde görüntüle ↗Açıklama
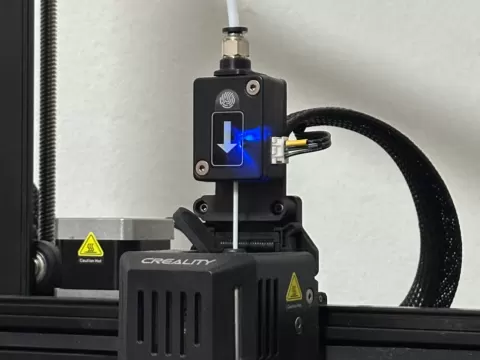
For this version, you need to remove the two Allen screws from the sensor; this releases a metal part and makes the sensor much lighter. Additionally, this new design keeps the sensor perfectly centered, preventing unnecessary friction.Once the metal part is removed, simply screw the sensor onto the printed part using the two original Allen screws, then mount the assembly in place of the original small cable guide (again, using the original screws).The model does not have built-in threads; the screws should be slightly larger than the holes so that, when driven in with a bit of force, they cut their own threads. Depending on your printer, the holes may end up being too large or too small, so you might want to print a test piece first.If the hole is too small, screwing them in will be difficult; if it is too large, you may not be able to tighten them enough, and the sensor could end up loose.You will notice two holes at the top of the model; these are for attaching a small adapter that allows you to screw in a PC4 connector to create a reverse Bowden system.You can find the adapter by visiting my profile.
Bu model hakkında
Ender 3 V3 KE Filament Sensor Relocation DEFINITIVE EDITION, Creality Cloud topluluğunda paylaşılan ücretsiz bir Hayvanlar 3D modelidir. 3D baskı için indirebilir ve orijinal lisans koşulları çerçevesinde kendi projelerinde kullanabilirsin.
Dosya formatları
- STL — 3D baskı için en yaygın mesh formatı — neredeyse her yazıcıda dilimlenip basılmaya hazır.
Bu modelin dosyaları Creality Cloud üzerinde barındırılır. Orijinal sayfayı açıp indirmek için yukarıdaki düğmeyi kullan.